25 Nov Kitchen Cabinet Re-Stain Transformation Before and After
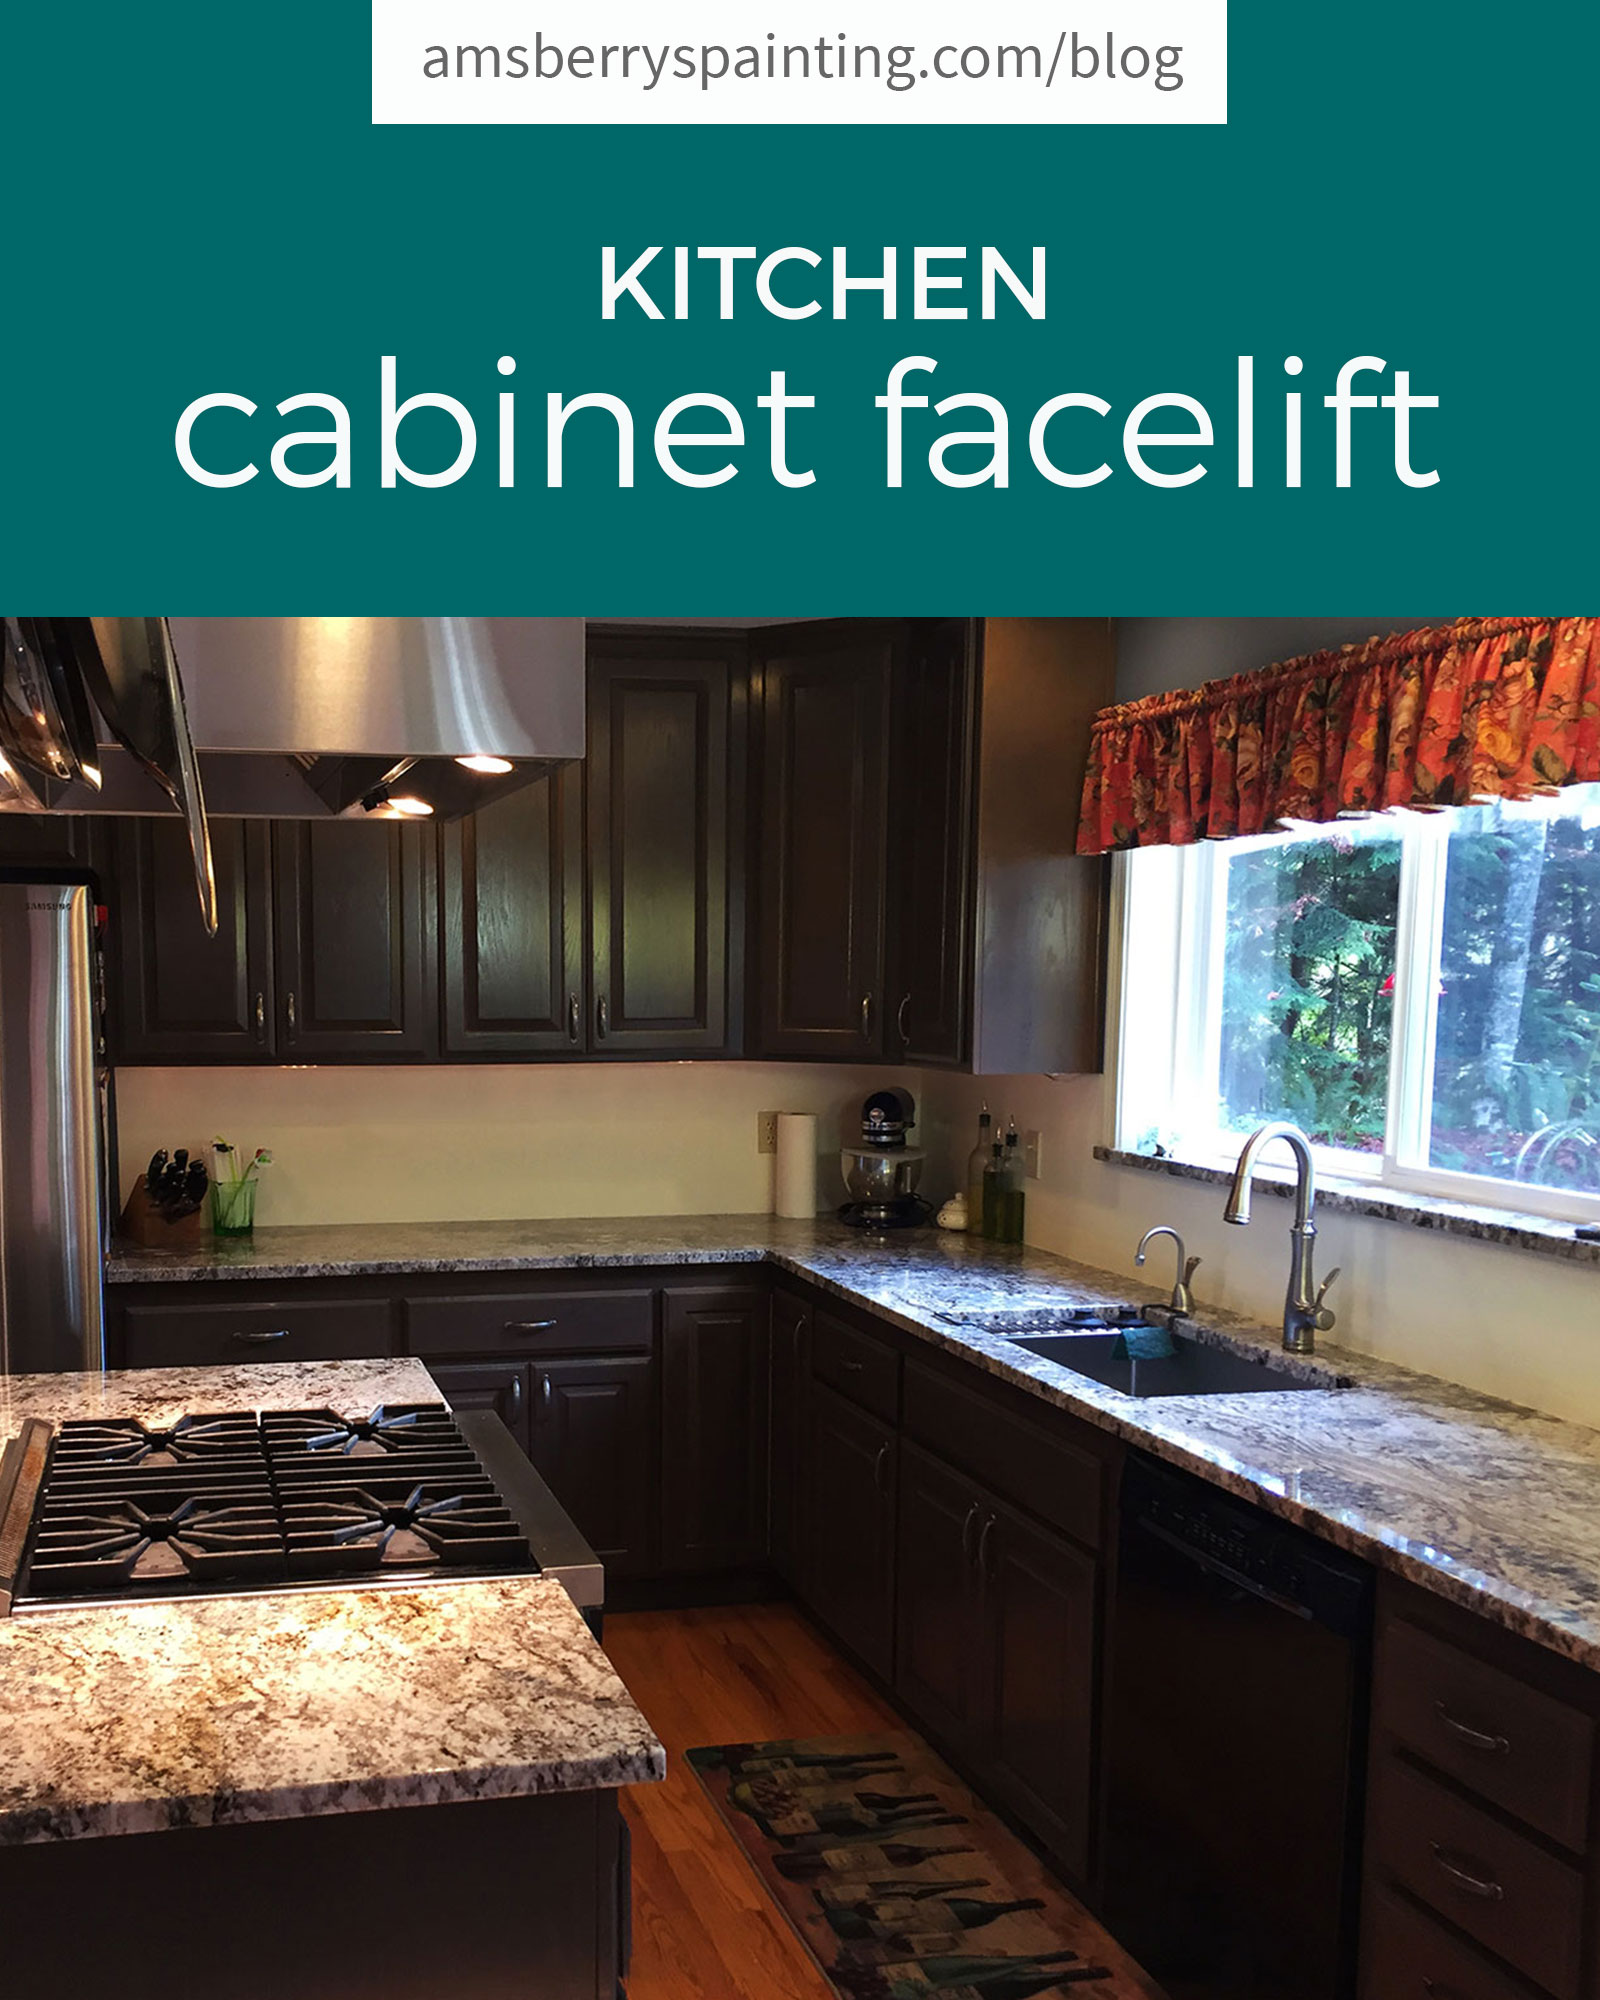
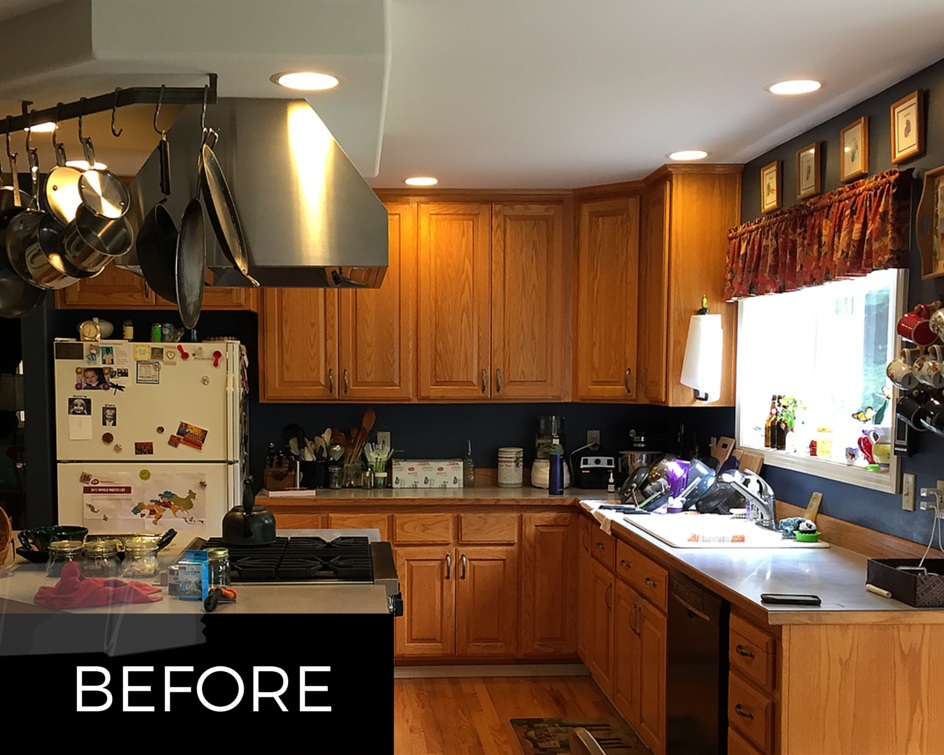
As part of their kitchen remodel process, Kerry and Jill called us to refinish their cabinets. Our staff walked the couple through different finish options. After surveying the possibilities and doing a few tests, Kerry and Jill decided to go with lacquer shading to update the look of their outdated cabinets. After working with Kerry and Jill’s schedule, we chose a date and the project began. The process included tedious prep, technical lacquer application, and finish clean up. Read on to hear what our customers thought of the finished product, and to hear an in depth description of the work we did in order to bring these cabinets from their before state, to this!
 I got a chance to talk to both Kerry and Jill during and after the project was completed. Jill told me over the phone that she loved the way the cabinets & kitchen island turned out. According to the Project Manger on the job, “When debating refinishing cabinetry with a lacquer, make sure you have a professional that specializes in lacquers and stains. Having a professional do the work can be the difference between good and great.” Kerry attested that his project was just that by saying, “The work that they did great!” He told me, “The whole team was courteous and professional” and that, “The interaction I had with the painters was excellent. They always took care to address my questions and were always courteous. They took care of our home and made sure that we knew they were respecting our house.”
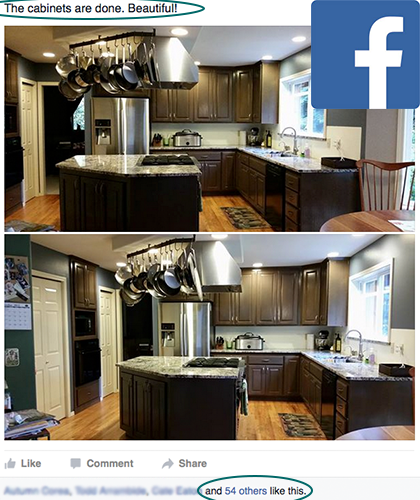
Jill posted the 2 photos shown below on Facebook to show off their kitchen remodel. I just had to share the post with you because of all the great responses Jill got!

Prep
 The Project Manager, Roland Stout, said, “This type of project requires a lot of prep. About 80% of the job was prep work.” The job did require extensive ground work, which included masking and protecting spaces that would not receive lacquer, as well as light sanding of all of the cabinetry to be lacquered.
First, all of the cabinet door and drawer fronts were removed, and sanded lightly in order to give the lacquer something to bind to. Next, all of the open cabinetry in the kitchen was masked off to protect spaces that would not receive the lacquer. Plastic was hung from the ceiling to create an enclosed space as to not get overspray in the kitchen or in other areas of the house. The open cabinets in the kitchen were sanded lightly just like the doors and drawers had been.
Lacquer
The garage was sectioned off using plastic in order to create a spray booth (an enclosed area where lacquer could be sprayed). Inside the spray booth the drawers and doors were then sprayed with lacquer and hung up to dry. A second coat was sprayed after the first coat had sufficient dry time.
The open cabinets were sprayed with their first coat of lacquer in the spray booth that was formed around the kitchen. Four hours later the second coat was sprayed. The kitchen island received four coats of lacquer per Kerry and Jill’s preference. They wanted their kitchen island to be a darker color than their cabinetry.
Finish
After 24 hours of dry time all of the masking was removed, floors swept, and everything was put back in it’s place. Kerry said, “The painters went into my shop and took extra time to make sure that the shop was ready for me to use again.” All the unmasking and clean up revealed the finished project: a brand new kitchen!
So there you have it! Hopefully this post caused you to dream about the possibilities for refinishing your cabinetry. Let us know if we can help! We do all the forms of cabinet refinishing.
To see samples of our work take a look at our gallery.
 Writer Bio: Kaitlyn McAuliffe
Kaitlyn is the Marketing & HR Director at Amsberry’s Painting. She has been working at Amsberry’s Painting since 2011 in many different capacities, including out in the field and as the Office Manager. She loves spending time with family and hiking in the beautiful PNW!
Click on the images below for more great content!